


Nachdem ihr im letzten Beitrag lesen konntet, wie wir Makani für das Laminieren vorbereitet haben, stand nun der große Moment bevor: das eigentliche Laminieren.
Zuerst haben wir den Rumpf sorgfältig ausgemessen, um die Glasgelegebahnen passgenau zuschneiden zu können. Insgesamt brauchten wir 2 × 5 Bahnen, damit Makani komplett eingehüllt werden konnte. Da wir großen Respekt vor diesem Arbeitsschritt hatten, baten wir einen befreundeten Bootsbauer um Unterstützung.
Uns war klar, dass wir jede Menge Epoxy benötigen würden. Deshalb war eine Person ausschließlich damit beschäftigt, ständig frisches Epoxy anzumischen. Um Zeit zu sparen, haben wir im Vorfeld sechs kleine Eimer vorbereitet – bereits gefüllt mit Harz und Verdünner, sodass nur noch der Härter hinzugegeben werden musste.
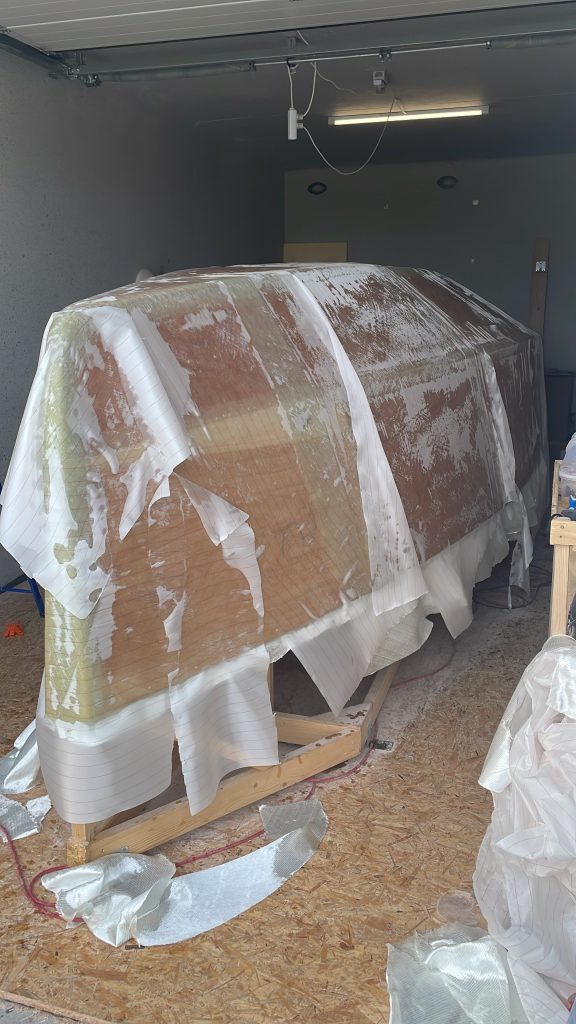
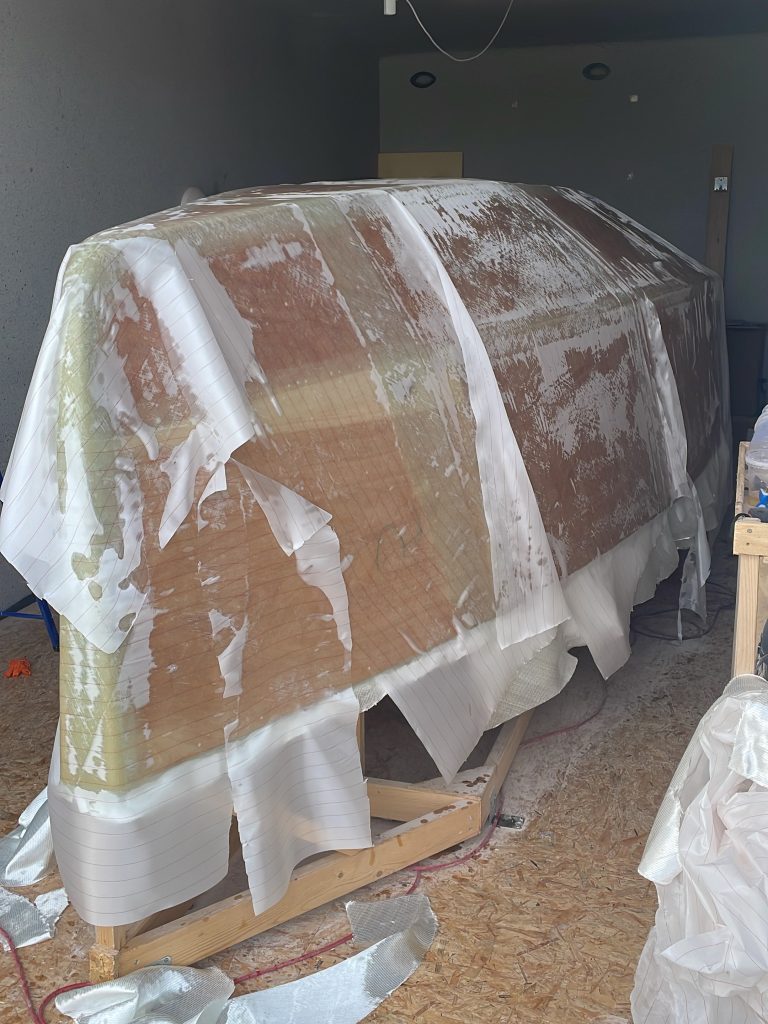
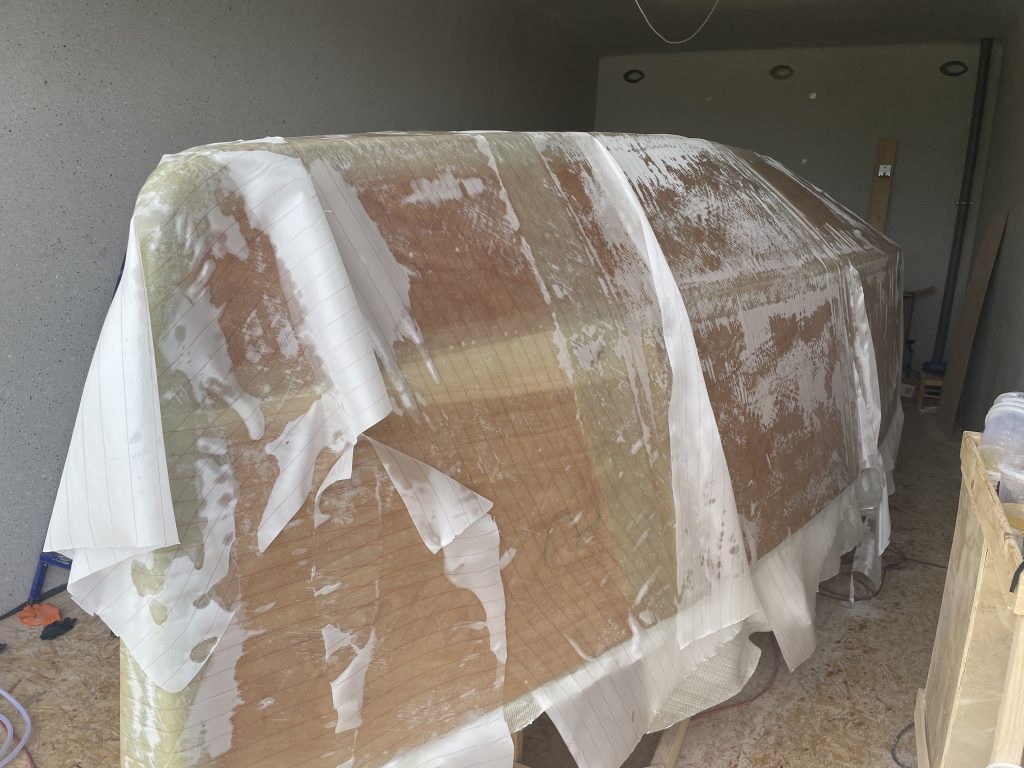
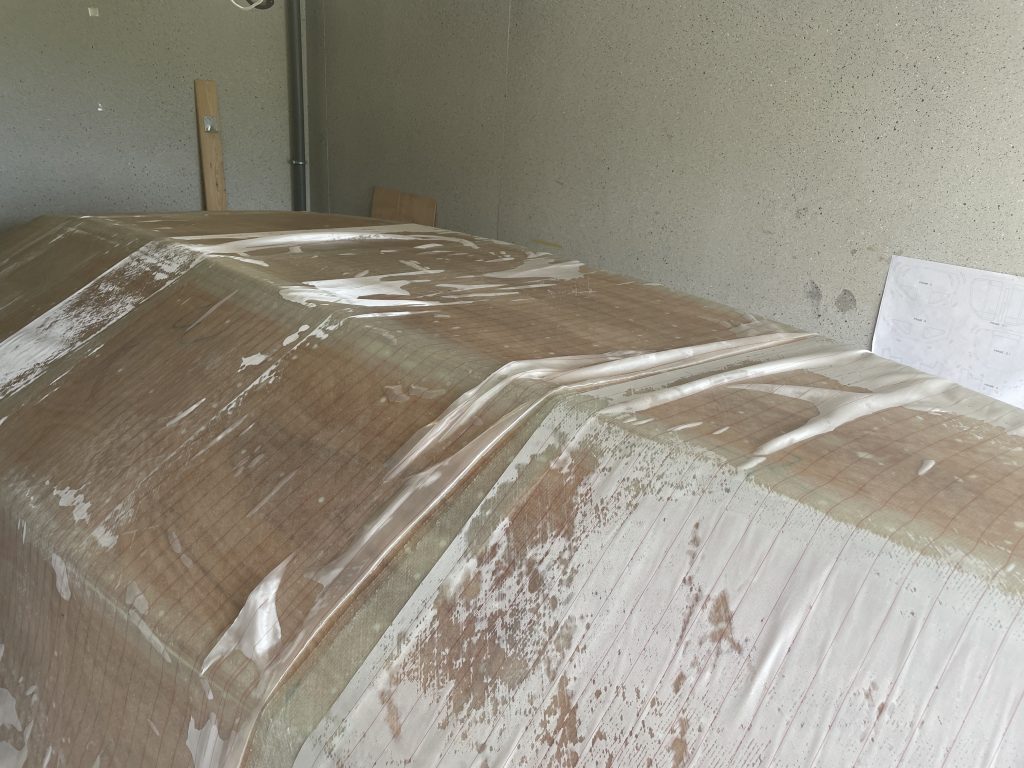
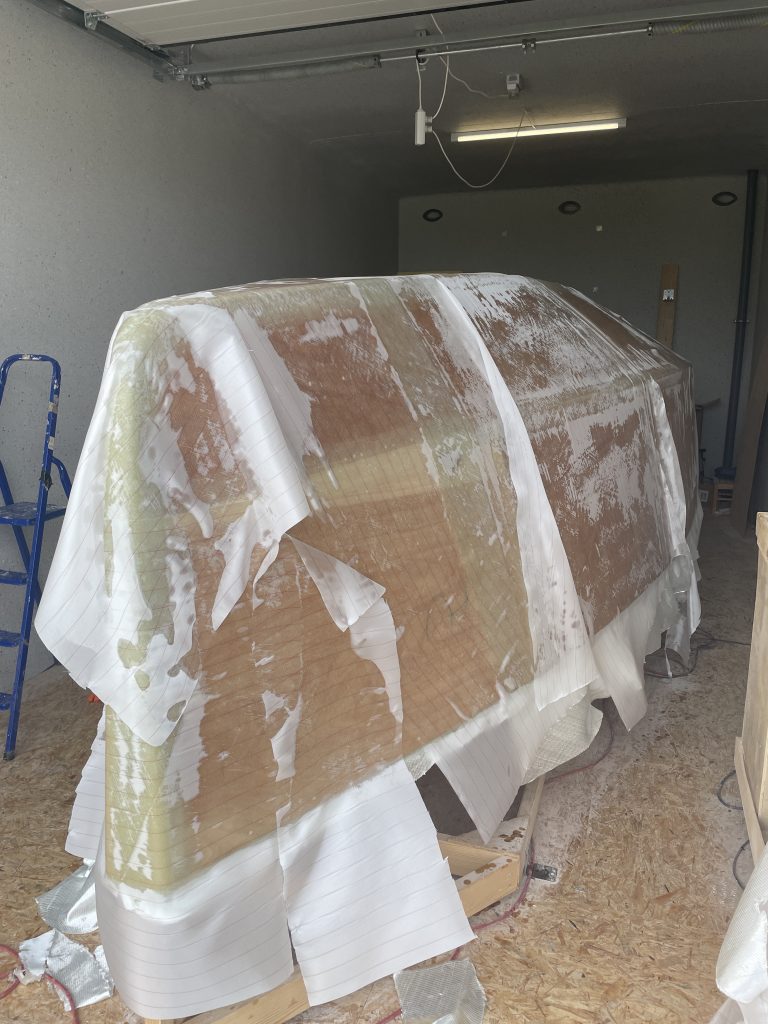
Am Rumpf markierten wir die Breite der Bahnen und rollten schon eine erste Schicht Epoxy auf das Holz, um es vorzubereiten. Dann kam die erste Glasgelegebahn – und das klappte überraschend gut! Sie ließ sich faltenfrei aufbringen und konnte anschließend gründlich mit Epoxy getränkt werden, bis das Gelege vollständig transparent war. Direkt im Anschluss folgte die zweite Lage, die sich ebenso problemlos aufbringen ließ. Auch diese wurde mit Epoxy durchtränkt und mit Abreißgewebe abgedeckt.
Schritt für Schritt verfuhren wir genauso mit allen weiteren Bahnen, bis der gesamte Rumpf mit zwei Lagen 600 g/m² Glasgelege laminiert war. Besonders vor dem Bug hatten wir anfangs Respekt – aber auch dieser Bereich ließ sich besser bewältigen als erwartet.
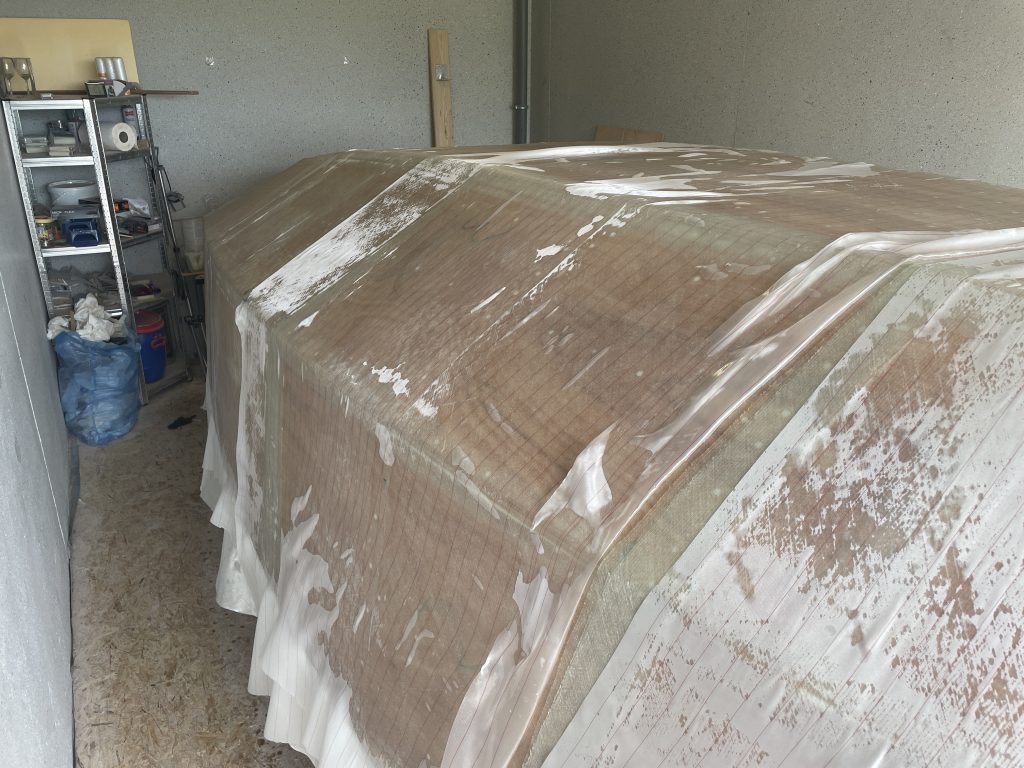
Nach dem Laminieren stellten wir leider ein paar kleine Blasen fest. Diese lassen sich jedoch gut ausbessern: Dazu schleifen wir die Blasen auf und laminieren ein kleines Patch darüber. Dieses Patch sollte immer etwas größer sein als die aufgeschliffene Stelle. Trotz dieser kleinen Nacharbeit sind wir sehr stolz auf das Ergebnis und freuen uns, dass ein weiterer großer Meilenstein geschafft ist.
Laminating – it finally started!
In our last post, you could read how we prepared Makani for laminating. Now the big moment had finally arrived: the actual laminating process.
First, we carefully measured the hull in order to cut the fiberglass cloth to size. Altogether, we needed 2 × 5 strips to fully cover Makani. Since we had a lot of respect for this step, we asked a fellow boatbuilder for support.
We knew from the start that we would need a large amount of epoxy. That’s why one person was dedicated entirely to mixing fresh epoxy continuously. To save time, we prepared six small buckets in advance – already filled with resin and thinner, so that we only had to add the hardener.
On the hull, we marked the widths of the cloth strips and rolled on a first layer of epoxy to prime the wood. Then came the first strip of fiberglass – and to our relief, it went on surprisingly well! We were able to apply it without folds and then thoroughly wet it out with epoxy until it turned fully transparent. Right after that, the second layer was applied, which also went on more smoothly than expected. This layer was wetted out with epoxy as well and then covered with peel ply.
Step by step, we continued in the same way with all the other strips until the entire hull was laminated with two layers of 600 g/m² fiberglass cloth. The bow was the part we feared the most – but even there, the process turned out easier than expected.
After laminating, we did notice a few small air bubbles. Luckily, these can be fixed quite easily: we sand them open and laminate a small patch over them. The patch should always be slightly larger than the sanded area. Despite these minor touch-ups, we are very proud of the result and happy that another major milestone is now behind us.
Yo, peso63! I’ve been checking you guys out, pretty solid stuff. The layout is clean, and I haven’t had any major issues. Could maybe use a few more promotions, but overall, not bad at all. Giving peso63 a thumbs up.